Making the decision to migrate from Magento to Shopify signals a strategic move towards leveraging a more intuitive and user-friendly platform for your e-commerce business. The journey from Magento to Shopify is not just about changing platforms; it’s about embracing an ecosystem designed to enhance operational efficiency, improve customer experience, and drive sales. This transformation allows businesses to tap into Shopify’s robust infrastructure, benefiting from its reliability, scalability, and a plethora of marketing tools.
As such, understanding the process of Shopify migration and executing it flawlessly is crucial for retailers aiming to thrive in the online retail space. Here’s every step you’ll need to take along the way.
Step 1: Backup Your Magento Store
Creating backups of your Magento store is crucial, especially before undertaking significant changes such as updates, extensions installations, or platform migrations. For medium to large online stores, it’s recommended to perform backups monthly or even weekly due to the substantial amount of data these stores handle. Smaller stores might opt for less frequent backups, like quarterly, depending on their data accumulation rate.

Backup Procedures for Magento 1
Access the Backup Option: Navigate to System > Tools > Backup in the Magento Admin Panel.
Select the Type of Backup: Choose from options such as Database and Media Backup, Database Backup, or System Backup. The choice depends on the specific needs of your store.
Initiate the Backup: A warning box will appear, emphasizing the importance of reading the instructions carefully before proceeding. After reading, click OK to continue.
Consider Store Maintenance Mode: If you opt for Database and Media Backup or Database Backup, you’ll have the option to put your store in maintenance mode. This prevents customers from accessing the site and placing orders during the backup process, ensuring data integrity.
Completion and Confirmation: Once the backup process is complete, you’ll receive a notification, and the list of backup files will be displayed.

Backup Procedures for Magento 2
Navigate to Backup Settings: In Magento 2, access the backup feature via System > Tools > Backup on the Admin Panel.
Select Backup Type: Choose from System Backup, Database Backup, or Media Backup. Each type serves different purposes, from a full store backup to specific data backups.
Set Backup Preferences: You can name your backup file for easier identification and choose to activate maintenance mode during the backup process.
Complete the Backup: After the backup is finalized, Magento 2 automatically disables maintenance mode, and you will be notified of the successful completion.
Additional Backup Options and Maintenance
- Using Command Line for Backups:
Magento 2 allows backups via command line, which can be a quicker method for experienced users. Commands like magento setup:backup enable specific backup types, and maintenance mode can be toggled to avoid interruptions. - Storing Backups:
Backups are stored in the var/backups directory within your Magento installation. This location makes it easy to manage and retrieve backup files. - Restoration Options:
Should the need arise, you can restore your Magento store from these backups either through the admin panel or using command line tools like magento setup:rollback.
Regular backups are a safety net that protects your online store from data loss due to unexpected events. By following these structured steps, you ensure that your Magento store’s data is securely backed up, maintaining your business continuity and customer trust.

Step 2: Export Data from Magento
Exporting data from Magento can feel like orchestrating a complex dance. With each step, you extract valuable insights from your online store, unlocking a treasure trove of customer information, sales statistics, and inventory details. Whether you’re gearing up for a system migration, preparing for analysis, or backing up your site, mastering the export process in Magento is essential. Let’s dive into how you can streamline this operation to ensure nothing slips through the cracks, keeping your e-commerce engine running smoothly.
Products
To begin the export process from Magento, navigate to the admin panel and select System > Data Transfer > Export. Here, under the “Export Settings” section, choose “Products” as the Entity Type and set the Export File Format to CSV. This method ensures that all product data, including descriptions, prices, and inventory levels, are correctly compiled into a CSV file. After confirming these settings, click Continue to initiate the export. The files will be saved in the /var/export folder, or in the /import_export/export folder if the remote storage module is enabled.
Customers
Exporting customer data involves a similar process. Access the Export function via System > Import/Export. In the export settings, select Customers as the entity type and CSV as the file format. It’s crucial to ensure that the file includes essential data like customer emails and contact information. After the export, rename the CSV file to include identifiers like “magento” and “customers” to simplify the identification process, for example, “magento_customers_20181113_142219.csv”.
Orders
For exporting orders, connect to the Magento database and use the database tool to export relevant tables such as sales_order, sales_order_item, and sales_order_address into separate CSV files. Each of these files should be named clearly to reflect their contents, ensuring they are easily recognizable, such as “sales_order.csv”. After exporting, compress these CSV files into a single zip file named with the convention “Magento_Orders.zip” to maintain organization.
Categories
Categories in Magento are crucial for organizing products and must be handled carefully during the export. Ensure that the category information is included in the product CSV files and that it’s mapped correctly to Shopify collections during the import process. Verify that all categories are appropriately assigned to products in Shopify to maintain the store’s structure and navigation.
Step 3: Set Up Your New Shopify Plus Store
Whether you’re gearing up for a system migration, preparing for analysis, or backing up your site, mastering the export process in Magento is essential. Let’s dive into how you can streamline this operation to ensure nothing slips through the cracks, keeping your e-commerce engine running smoothly.
Create Shopify Account
Setting up a new Shopify Plus store begins with obtaining the necessary permissions. One must have the stores’s permission to initiate the creation of a store. When you set up a new store, it is usually added right away. However, if the new store goes beyond the limits of your contract, a trial version of the store will be set up first. Shopify Plus will process a request to add the additional store, and the user will be prompted to approve an extra fee. The trial store is upgraded once the request is processed, and confirmation is sent via email.

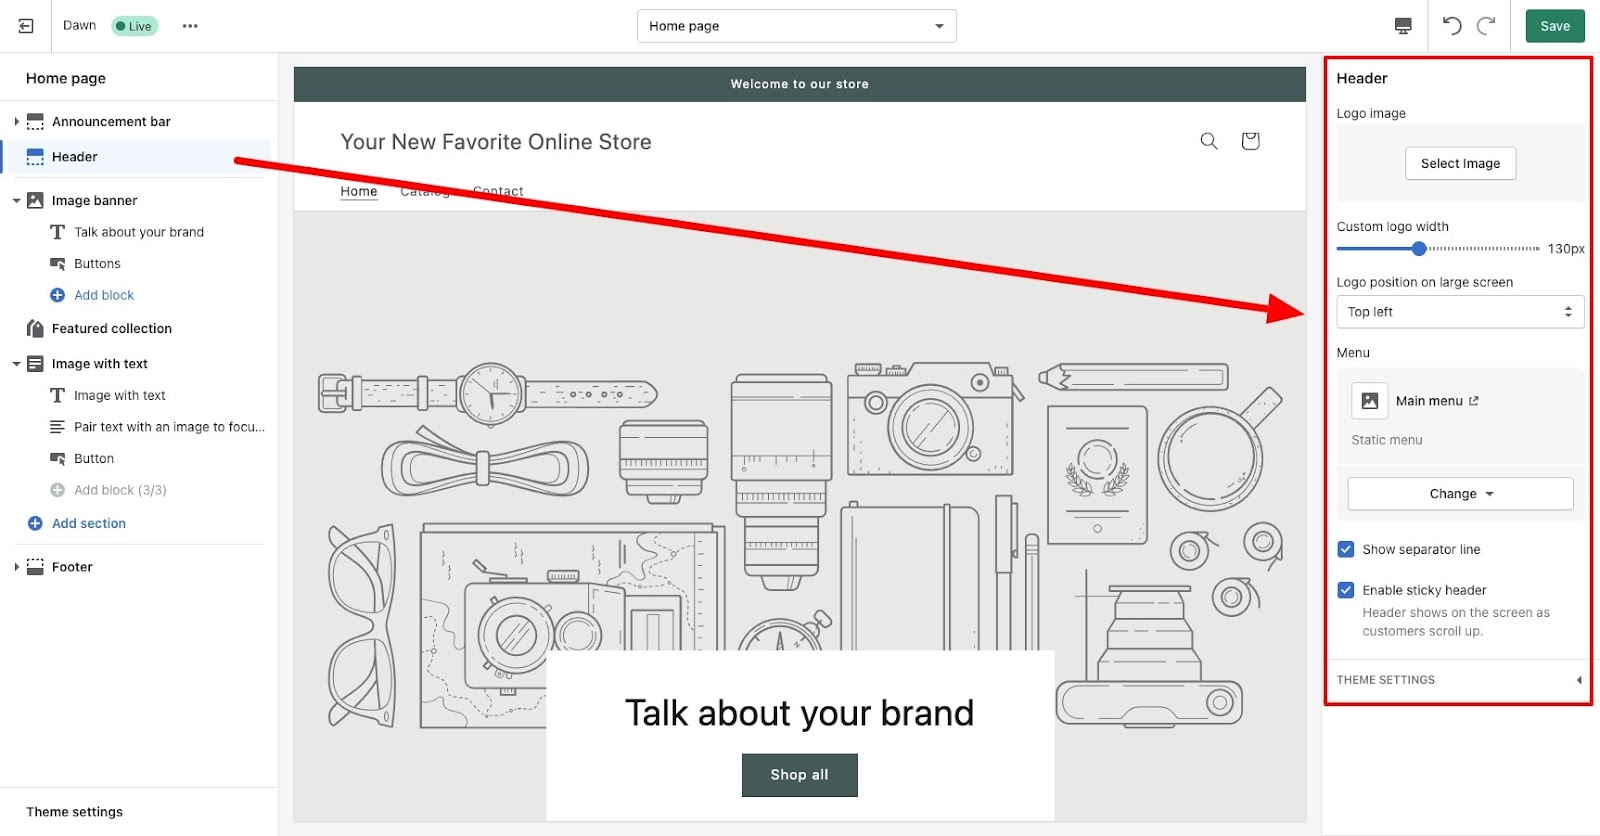
Select a Theme
Finding the right theme is crucial for aligning the online store’s aesthetic with the business’s brand. The Shopify Theme Store provides a diverse selection of themes, including both free and premium options. It’s advisable to understand the support available for a paid theme before making a purchase. The store provides various search and filtering options to help find the perfect theme. Once a theme is selected, it can be previewed and customized using the theme editor before making a purchase. Themes can be added directly from the Shopify admin, from the Shopify Theme Store, or by uploading a ZIP file from a computer.
Configure Payment and Shipping
Configuring the payment and shipping options for your online store is like setting the stage for a smooth customer journey. Carefully selecting and setting up these critical elements ensures that every transaction flows seamlessly from cart to delivery. Whether you’re integrating the latest payment gateways or fine-tuning your shipping strategies, this step is key to building trust and satisfaction among your shoppers.
Payment Setup
Activating Shopify Payments is the first step in configuring payment options. It’s essential to review eligibility and bank account requirements before setup. The setup process requires specific information depending on the store’s country. Once Shopify Payments is activated, you can adjust the settings and perform a test transaction to verify that everything is operating smoothly.
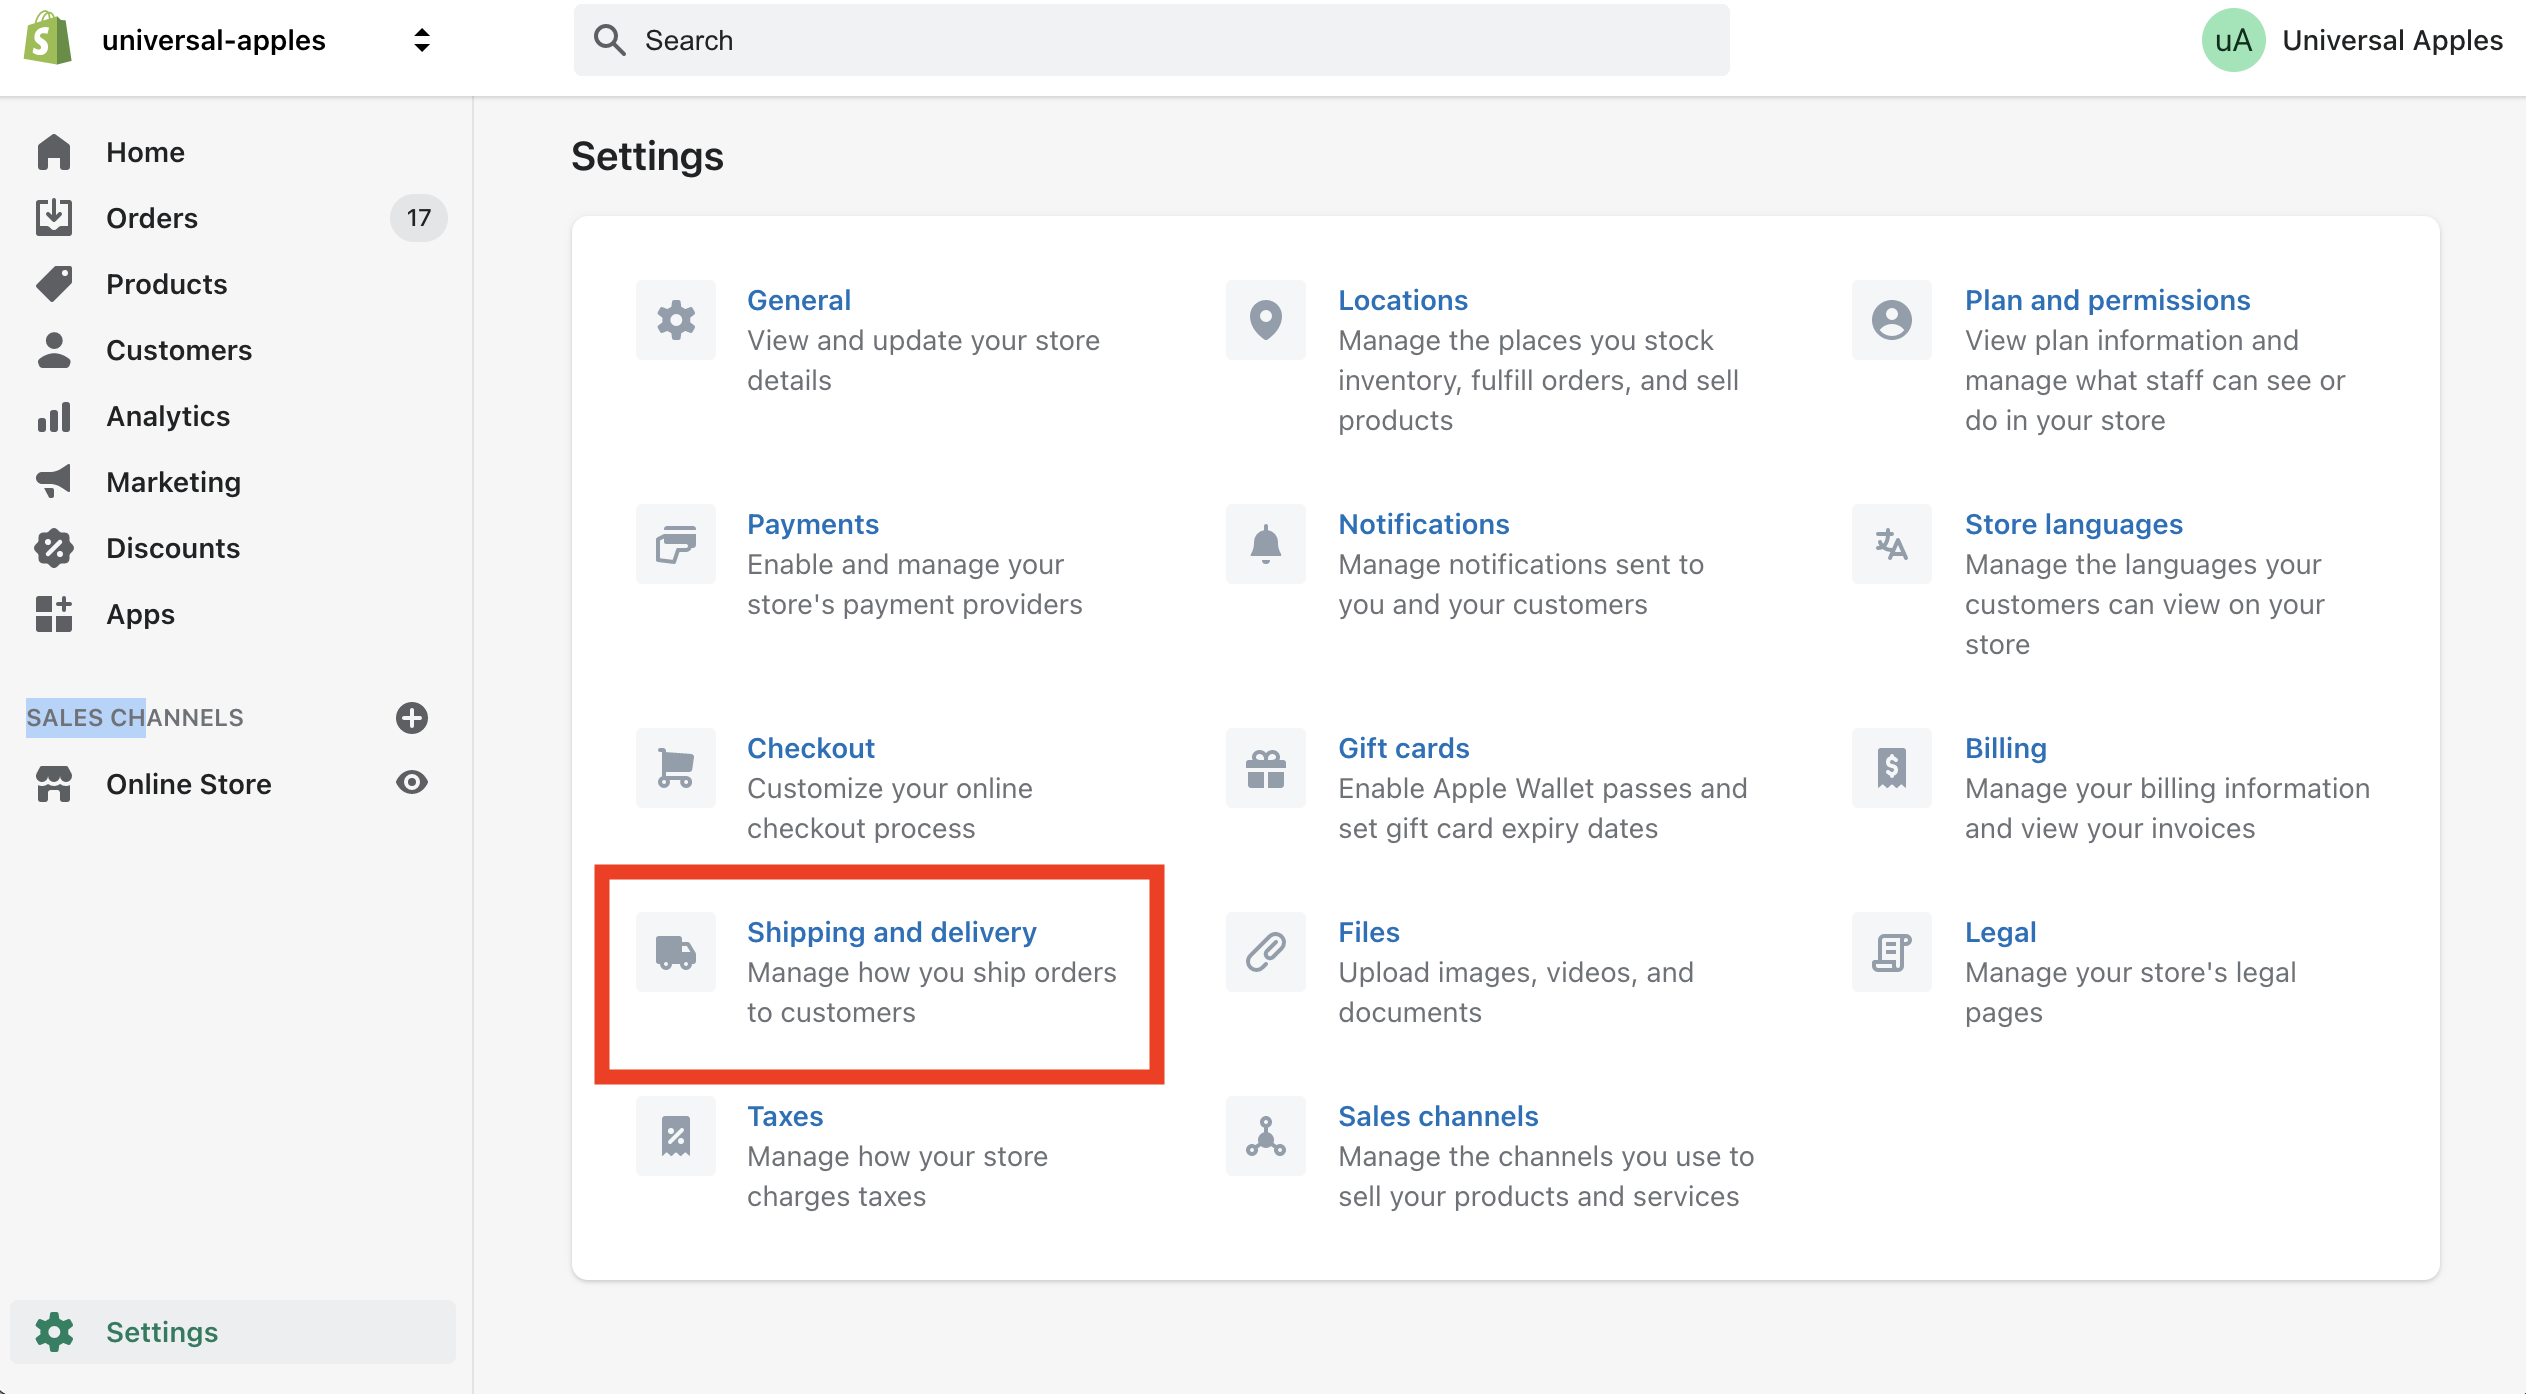
Shipping Configuration
Shipping setup involves understanding and setting up shipping zones and profiles before creating shipping rates. Shopify allows the configuration of free, flat, or calculated shipping rates. Flat shipping rates can be applied universally within a shipping zone or tailored to specific orders based on weight or price thresholds.
Calculated shipping rates are determined at checkout based on order details and can be adjusted to mark up or discount the rates displayed to customers. Free shipping can also be added to any shipping zone, with options to set criteria under which free shipping is offered.
By following these steps and configurations, the setup of a Shopify Plus store can be efficiently completed, ensuring a smooth transition and a solid foundation for the new online store.
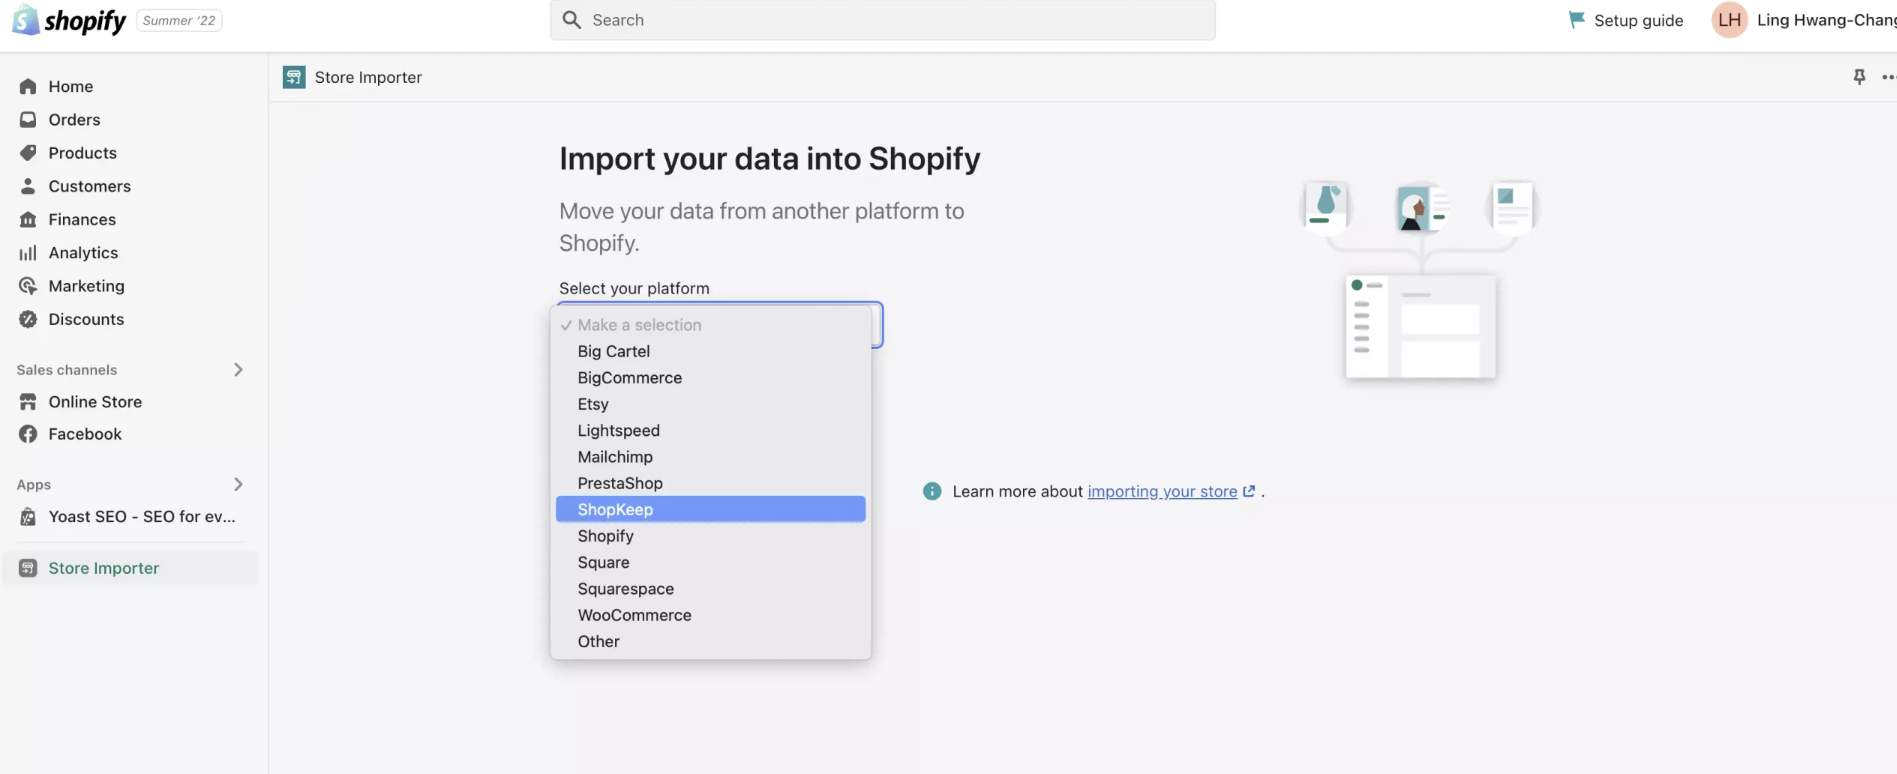
Step 4: Import Data to Shopify Plus
After successfully exporting your data from Magento, the next significant step in the migration process is importing this data into your Shopify Plus store. This phase is critical as it ensures that your Shopify store mirrors the essential elements of your Magento store, including products, customers, orders, and categories. Let’s dive into the specifics of importing each data type.
Import Products
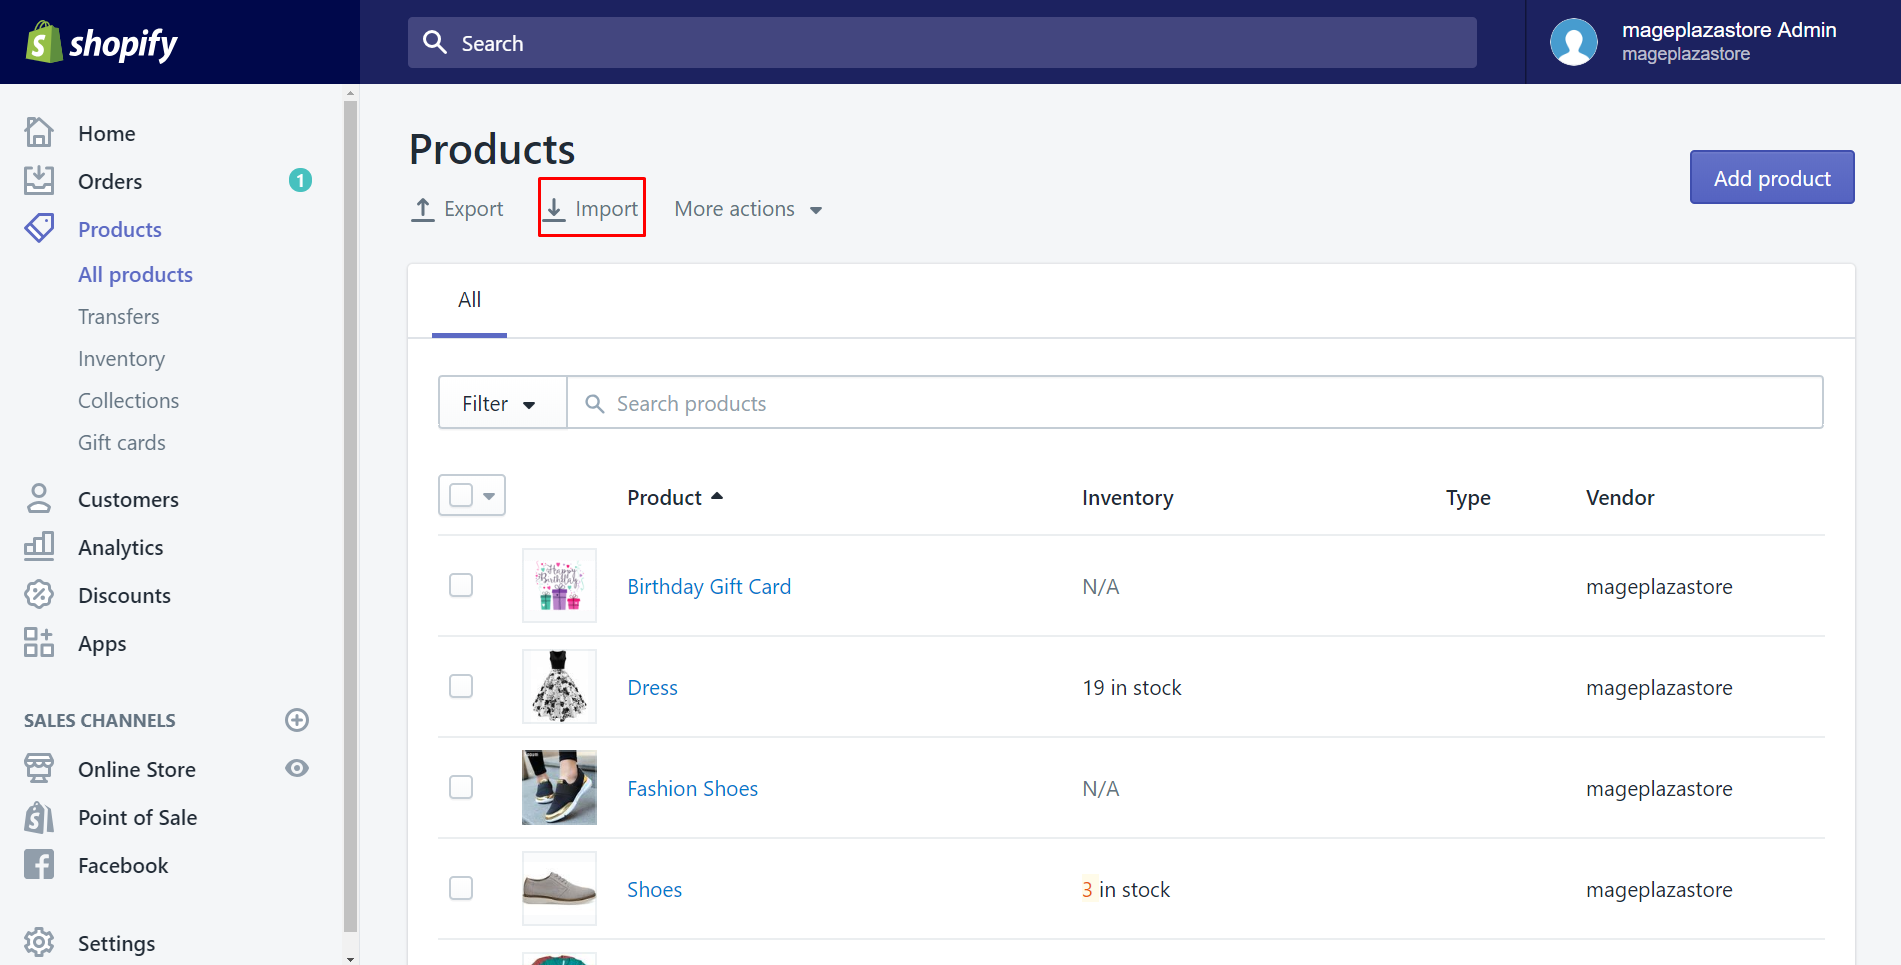
To start importing products into Shopify, sign in to your Shopify admin panel and go to the ‘Products’ section. Here, you’ll find the option to ‘Import’ products. Shopify allows for the import of product data through a CSV file. Ensuring that the CSV file aligns with Shopify’s specified format is crucial for a successful import. Shopify provides a sample CSV format which can be a helpful guide to ensure your data aligns with Shopify’s system.
Once your CSV file is prepared, select ‘Add file’ to upload your product data. Remember, while the CSV file facilitates the import of textual data, it won’t upload images directly. Therefore, your product images should be hosted on an existing website, with URLs included in the CSV file. These URLs are crucial during the import process but can be removed afterward.
Import Customers
Shopify provides a simple process for directly importing customer lists into the platform. This feature is accessible via the ‘Customers’ section in the Shopify admin. When importing customers, it’s essential to note that passwords cannot be imported due to encryption standards outside Shopify. As a result, you’ll need to invite customers to reactivate their accounts and set new passwords. This step is vital for maintaining a secure and seamless customer experience in your new Shopify Plus store.
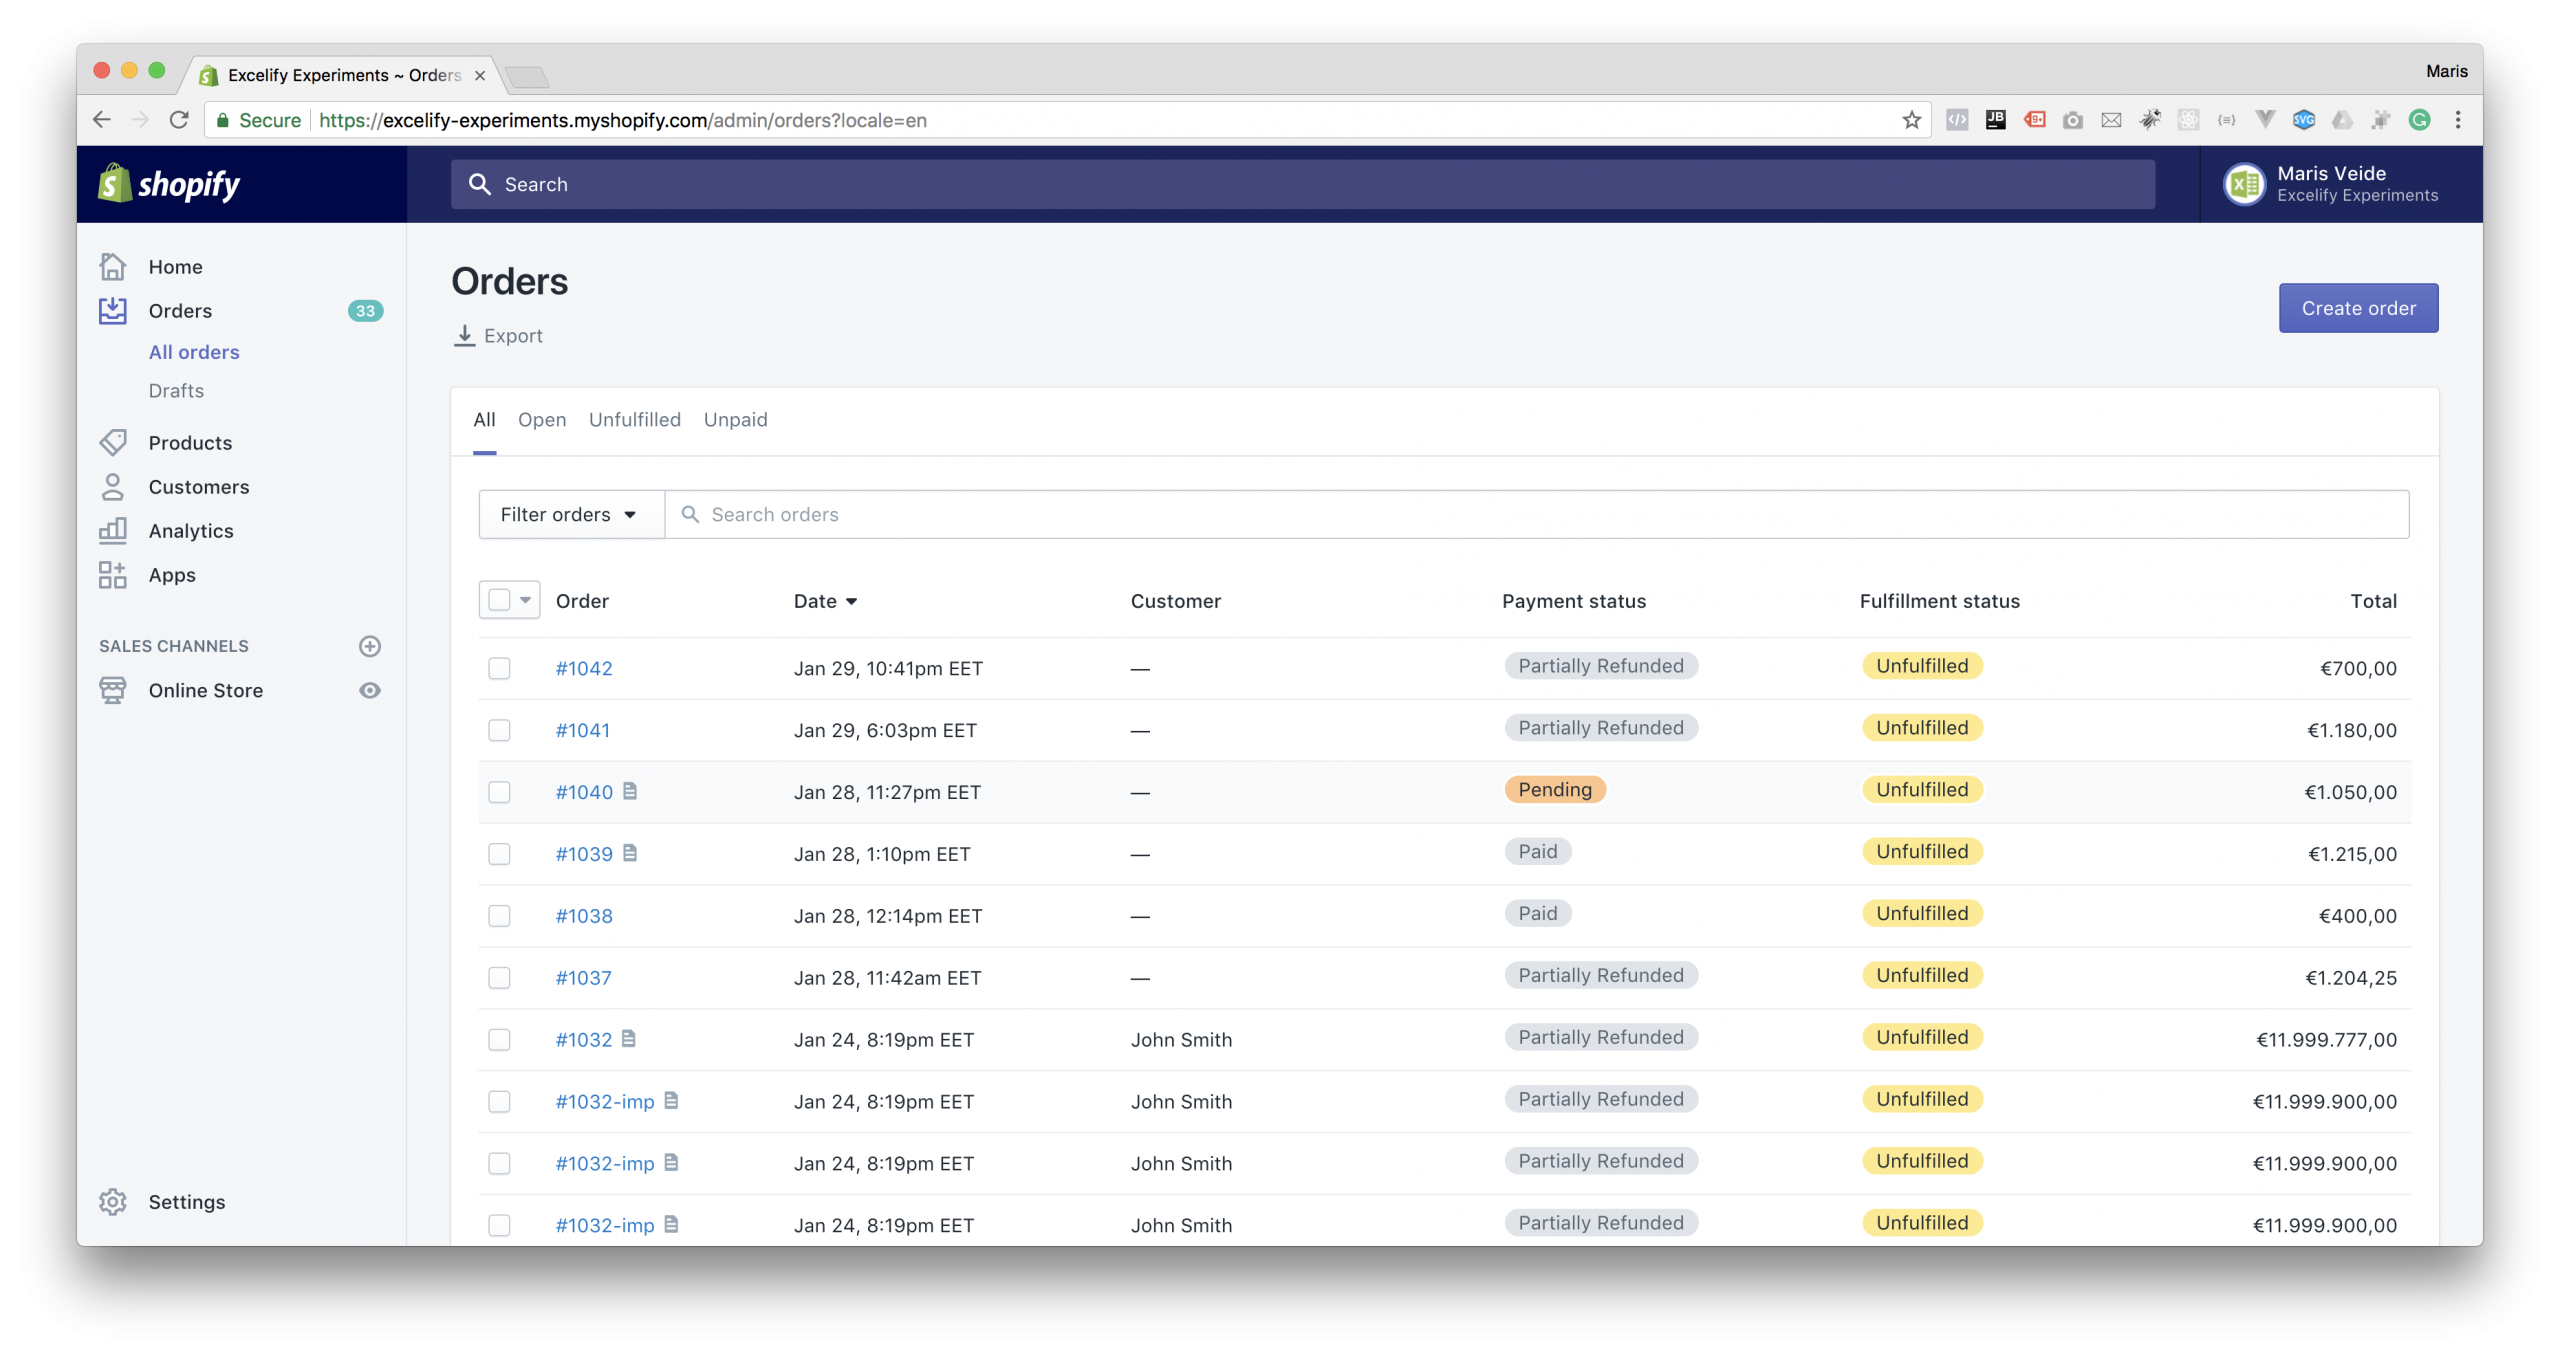
Import Orders
Unlike products and customers, Shopify does not provide a native feature for importing orders directly. However, third-party apps like Matrixify can be utilized to import previous orders into Shopify. This capability is crucial for enabling customers to view their order history and for store owners to maintain visibility into customer transactions. It’s important to note that payment-related information and order statuses cannot be imported into Shopify Payments. As such, refunds for historical payments or purchases made on Magento cannot be processed through Shopify.

Import Categories
In Shopify, product categories are managed through ‘Collections.’ While Shopify does not offer a direct import feature for categories from Magento, you can manage this through product imports. When importing products, ensure that relevant tags are included, which can then be used to create Automated Collections within Shopify. This method allows for dynamic assignment of products to collections based on specific criteria, such as tags. For stores with a large number of collections, considering the use of third-party apps for collection creation might be beneficial.
By following these structured steps for importing products, customers, orders, and categories, you can ensure a smooth transition from Magento to Shopify Plus. This process not only preserves the integrity of your store’s data but also sets the foundation for a successful operation on the Shopify platform. Remember, the goal is to ensure that your Shopify Plus store reflects the rich history and customer engagement of your Magento store, thereby facilitating continued growth and success in the e-commerce space.
Step 5: Post-Migration Actions
After completing the migration from Magento to Shopify, it’s essential to take several post-migration actions to ensure your store operates smoothly and continues to attract and retain customers. These actions include verifying data integrity, setting up redirects, and customizing your Shopify store to match your brand’s identity. Let’s delve into these crucial steps.
Verify Data Integrity
Once you’ve imported your products, customers, orders, and categories into Shopify, it’s imperative to check that all information has been transferred accurately. Incorrectly imported data, such as prices, weights, and inventory levels, can significantly impact your business operations. Go through your product listings, customer information, and order history to ensure everything matches the data previously held in Magento. This step is critical for maintaining the trust of your customers and ensuring a seamless shopping experience.
Set Up Redirects
Setting up redirects is vital for preserving your SEO ranking and ensuring a smooth transition for your customers. Different e-commerce platforms often have different URL structures, meaning the URLs your customers used to visit may no longer exist on Shopify. Implementing 301 redirects manually in Shopify can guide visitors to the correct pages, preventing the dreaded 404 error pages and preserving your SEO rankings.
Tools like Matrixify can help in bulk updating URLs to their new Shopify counterparts, making the process more manageable. Additionally, setting up redirects for your most visited pages can help maintain traffic flow and customer engagement.
Customize Your Shopify Store
Migrating to Shopify offers an excellent opportunity to enhance your store’s aesthetics and functionality. Shopify’s wide array of themes, both free and paid, allows you to choose a design that aligns with your brand’s identity. Customizing your Shopify store is not just about aesthetics; it’s about creating an engaging and intuitive shopping experience for your customers.
Along the way, consider the overall design, navigation ease, mobile responsiveness, and the incorporation of social media to enhance customer engagement. For a more tailored design, you may consider hiring experts who specialize in Shopify customization to ensure your store stands out from the competition and is optimized for conversions.
Paying close attention to post-migration tasks can greatly impact the success of your Shopify store. Verifying data integrity ensures your store operates without hitches, setting up redirects preserves your SEO efforts, and customizing your store enhances the customer experience. Together, these steps lay a solid foundation for your store’s growth and success on the Shopify platform.
Final Thoughts
This journey from Magento to Shopify transcends a mere change of platforms; it represents a strategic upgrade to a more robust, user-friendly, and scalable e-commerce solution. With a detailed migration roadmap and post-migration actions, businesses are positioned to thrive in the competitive digital marketplace, boasting an optimized store that mirrors their unique brand identity and operational needs. Embracing Shopify’s compelling ecosystem offers businesses an opportunity to elevate their online presence, improve customer experience, and drive sales, marking a pivotal step towards achieving e-commerce excellence.
Bluesoft Design Can Help!
Ready to make the switch from Magento to Shopify Plus? Let Bluesoft Design guide your journey. With expert migration services tailored specifically for Magento store owners, we ensure a seamless transition to Shopify Plus. Elevate your e-commerce experience with our streamlined setup, data integrity, and customized solutions. Visit bluesoftdesign.com today to learn how we can help you thrive on Shopify Plus. Let’s build your future together!


